Tag Archives: recipe

Going Review and Giveaway: Navitas Naturals Super Food Power Snacks and Chia Seeds

Hey guys! Happy Friday!

Even as a stay-at-home parent I still look forward to Friday since that means I get at least 2 full days with my wife/partner in crime/Going Mom, Kelley!  The rest of the work week can be difficult when it’s just Avery and me hanging around. If you don’t know yet, babies are demanding!

DSC_0274

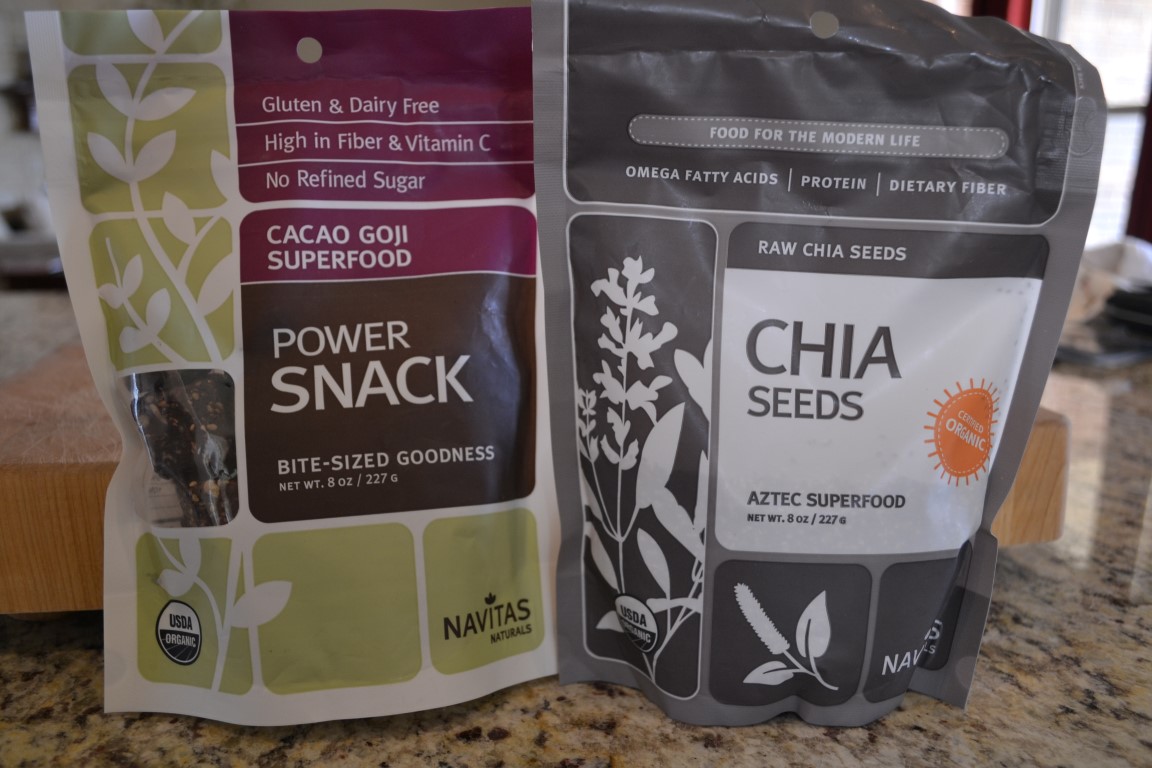
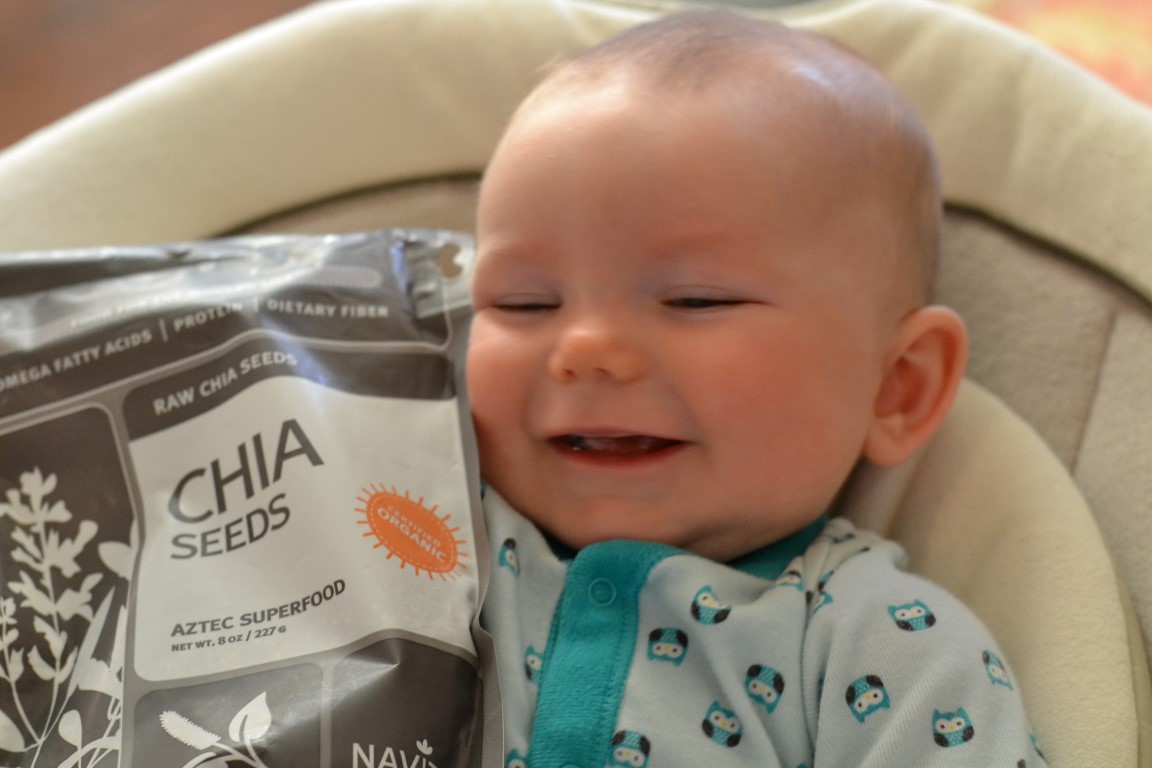
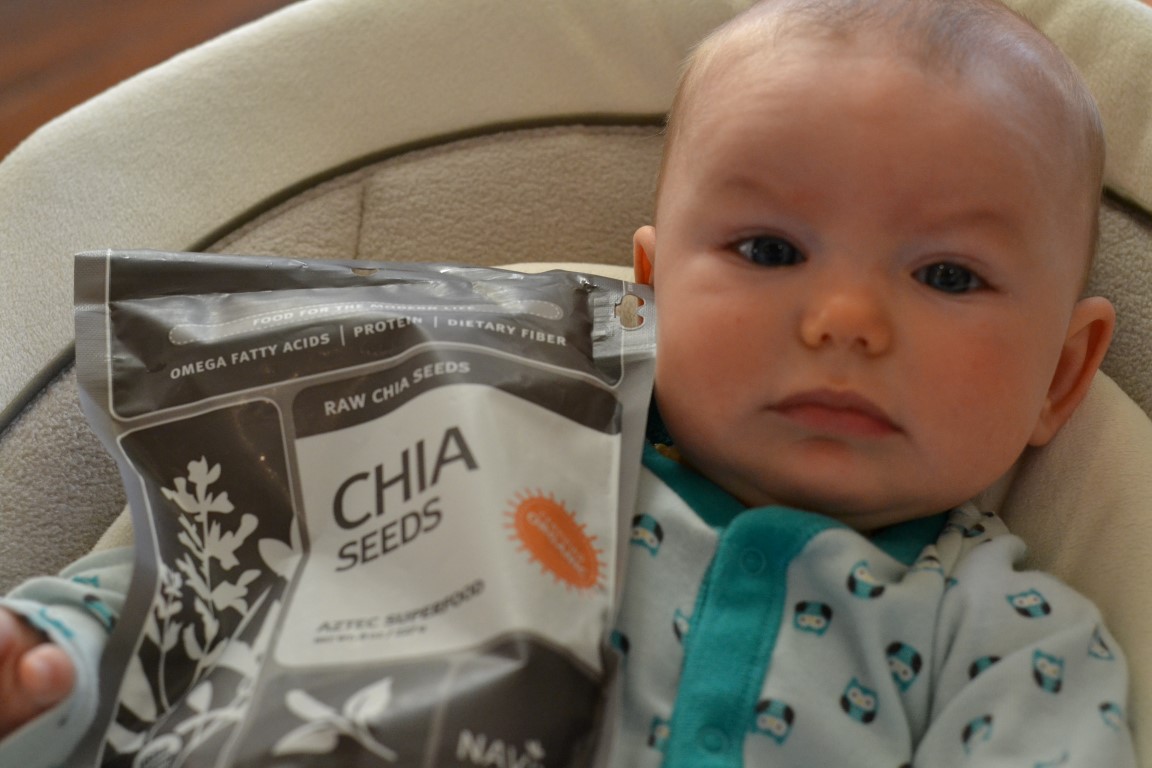
When the kind Mic from Navitas Naturals agreed to send me a bag of their chia seeds and a bag of their Cacao Goji Super Food Power Snacks, I was happy I’d have a quick, healthy snack for those stressful parts of the day. Avery isn’t a demon child or anything, far from, but as a baby, she has her moments……

Who you calling demon?!

Of course, I guess we all have our moments, huh?

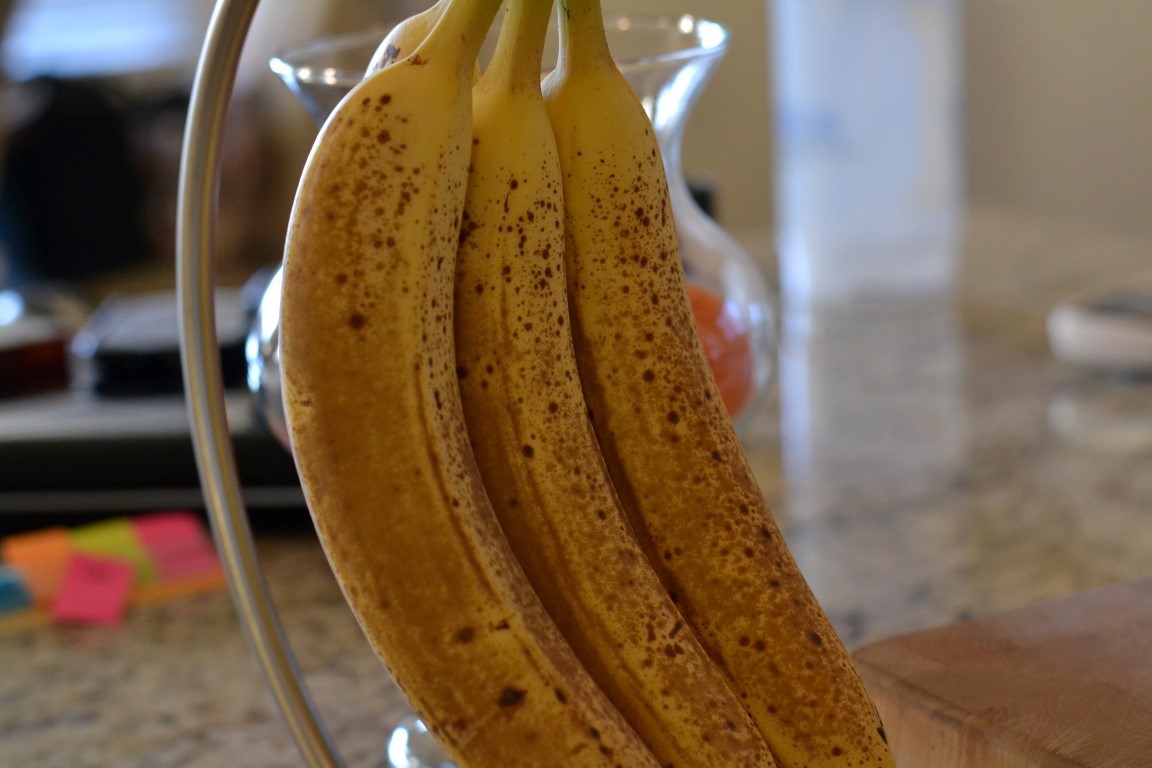
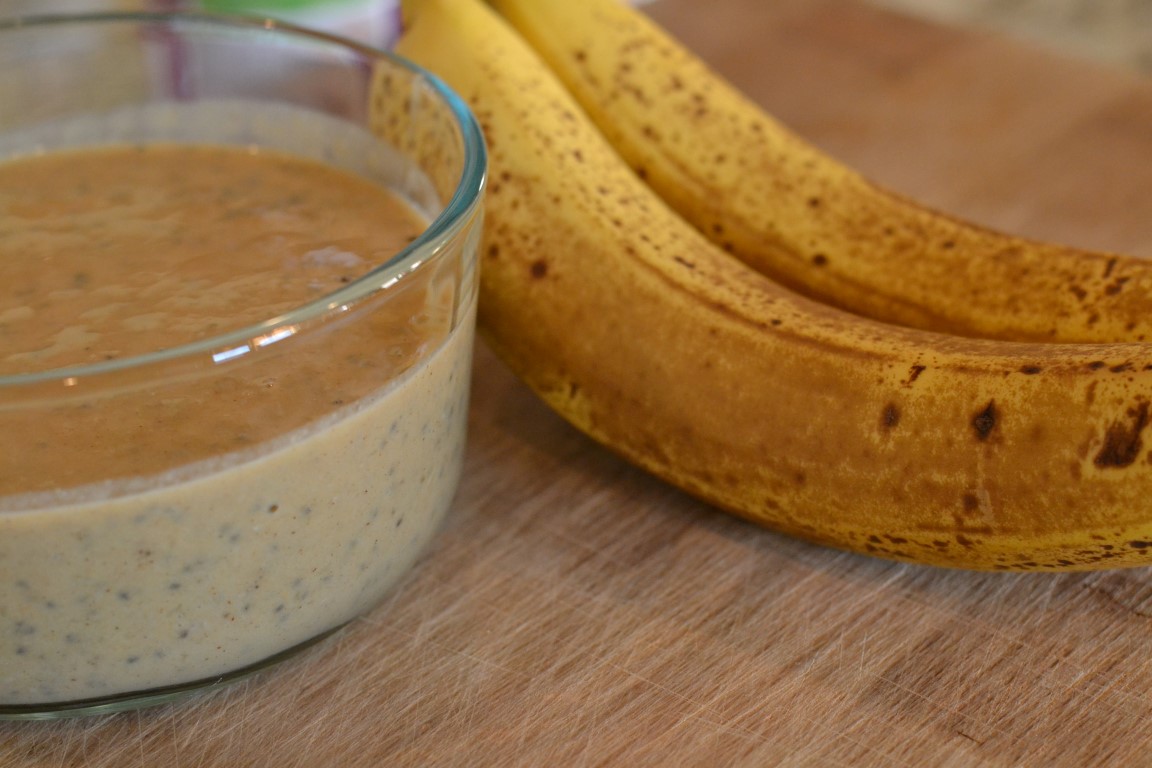
Anyway, since the time I opened the package, I have been enjoying both products every day. The chia seeds are perfect in oatmeal, even overnight oats, to make the perfect, gooey deliciousness I crave. Add peanut butter and a banana and I’m set!

Speaking of bananas, I recently posted a recipe for Banana Chia Pudding using Navitas Naturals’ Chia Seeds. Have you tried this yet? If not, you’re missing out!

DSC_0450

Here’s what Navitas Naturals lists about their chia seeds’ nutrition:

“Navitas Naturals Chia Seeds are an excellent source of healthy essential fatty acids – containing eight times more omega-3 fatty acids than salmon! Chia seeds are also one of the most digestible plant proteins, an excellent source of dietary fiber, and a powerhouse of vitamins, minerals, amino acids, and free-radical fighting antioxidants.”

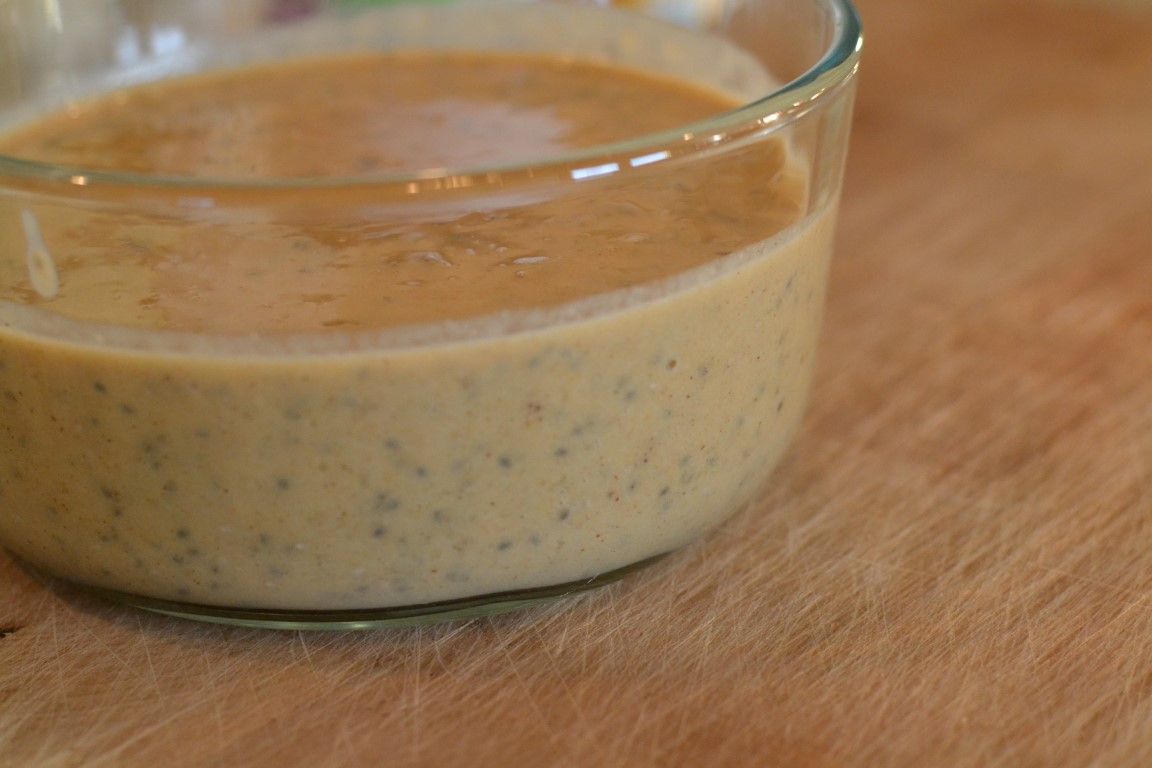
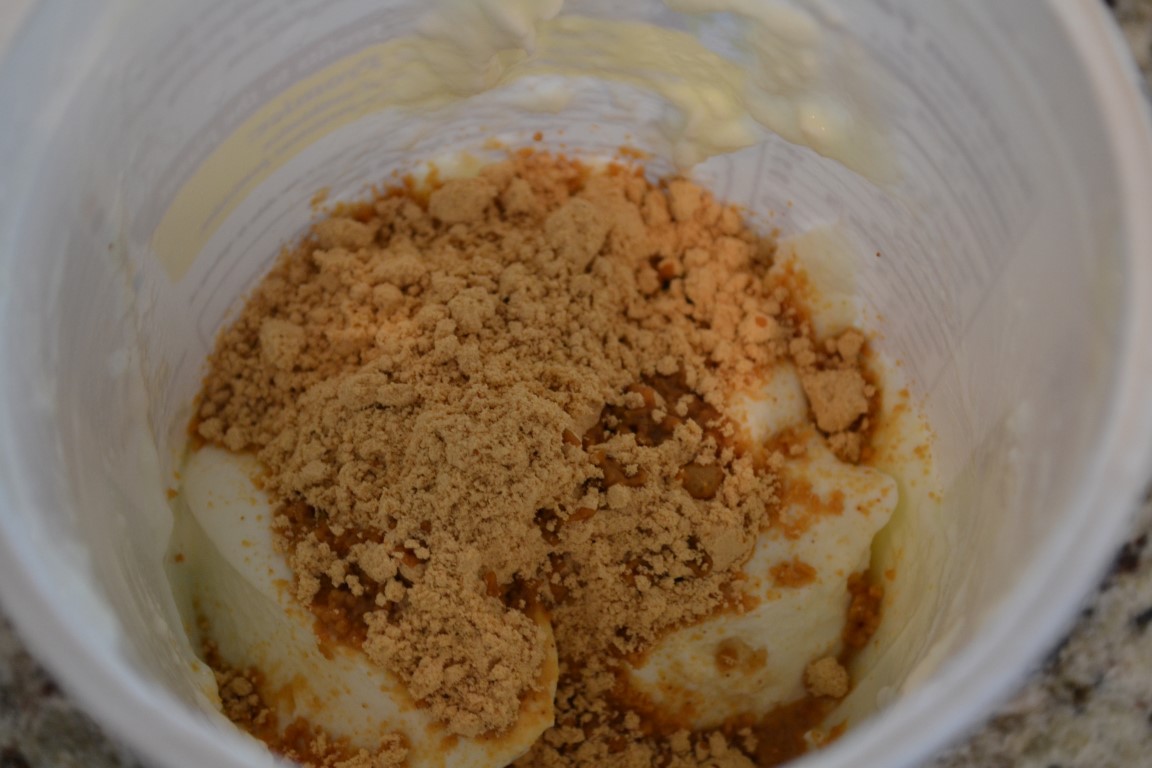
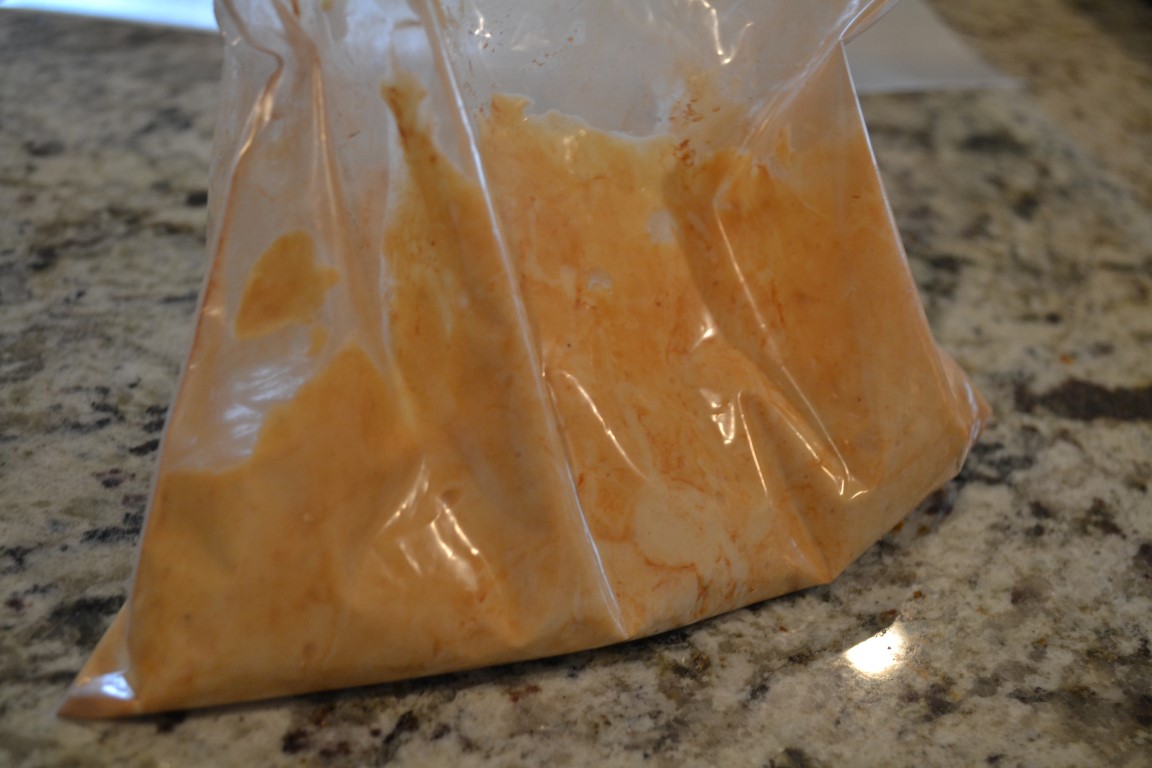
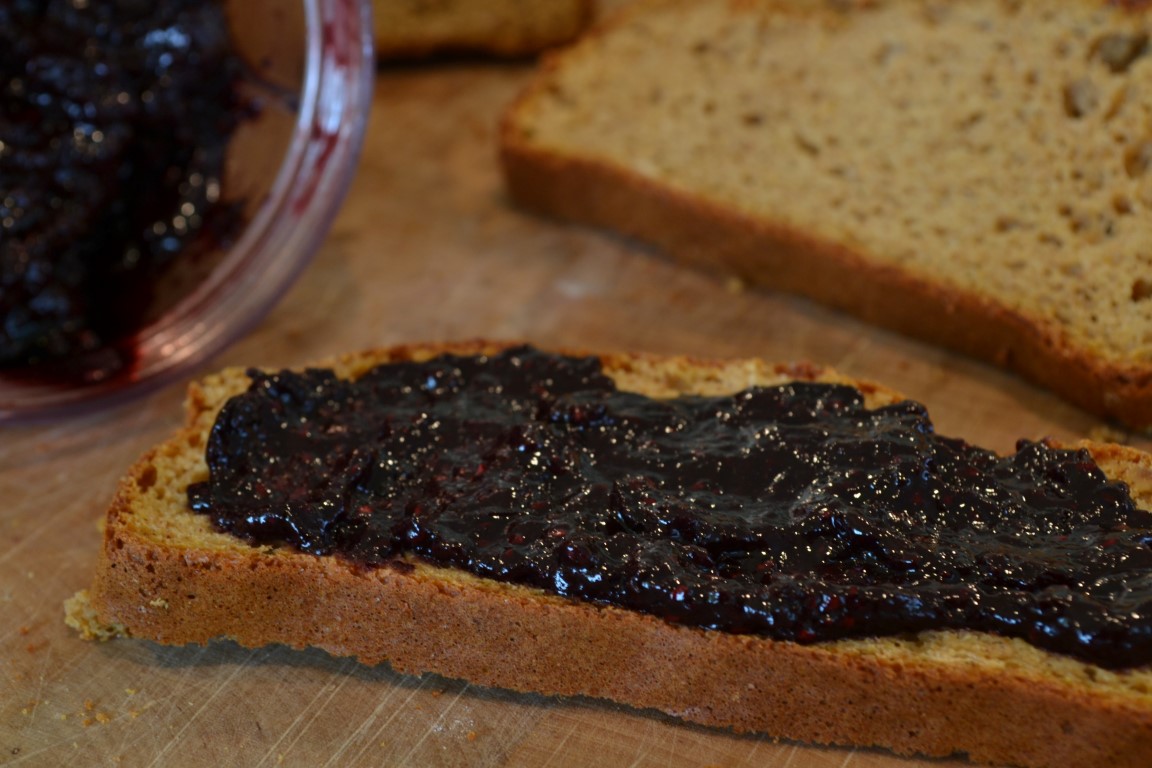
Another way to harvest the power of the chia is to make a quick chia jam with your favorite fruit. All you do is add chia seeds to your favorite pureed fruit, a little sweetener of choice and give it at least an hour to set. Voila! You have a thick, omega-3 rich jam that’s delicious on anything! Here’s a quick recipe:

Ingredients

•1 cup strawberries

•1 Tablespoon Navitas Naturals chia seeds

•1 Tablespoon water

•stevia, to taste (use honey or maple syrup if desired)

Instructions

1. Mash strawberries with a fork or blend them. I use my Vitamix to blend, but both methods work great. The blended version will be more like jelly and less like jam.

2. Mix in chia seeds, water and stevia. I usually use 2-3 drops of liquid stevia, but I don’t think the powder would be bad either. Be careful when adding, stevia can be very overpowering!

 3. Cover the mixture and place in the fridge to thicken. 30-60 minutes should be all you need.


I added some blueberries in this batch.


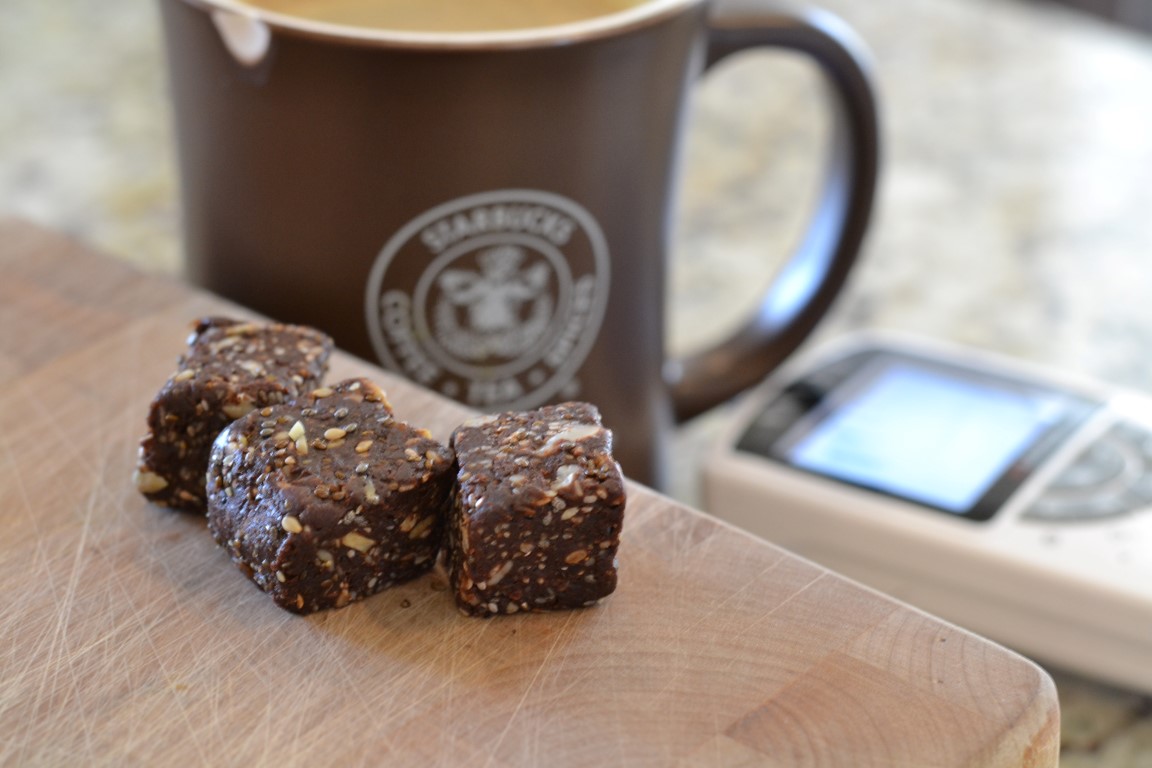
And for the Organic Raw Cacao Goji Super Food Power Snacks? YUM!  These are loaded with wholesome ingredients and no refined sugars or artificial anything which is exactly what I look for! Apparently, so does Avery.

DSC_0285

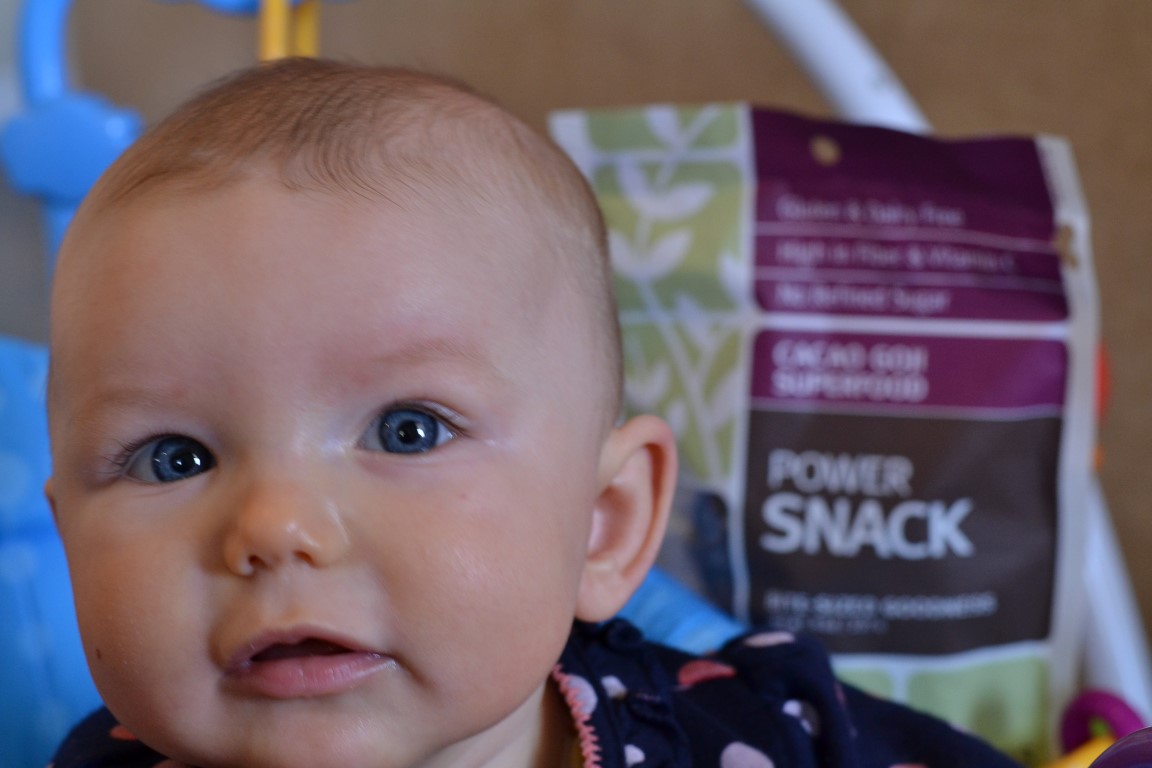
These were great to have before and after a run with Avery and while having coffee as I watched her sleep on the monitor.  I still have these at work and use them for my emergency hunger attacks if my lunch was not enough.  Try them, you won’t be sorry.

DSC_0688

Navitas Naturals explains their nutrition best…

“Cacao is one of nature’s most complex superfoods. There are thousands of phytochemicals stored inside each little bean. A rich source of magnesium, cacao is also loaded with antioxidants and theobromine. Goji berries contain some rare compounds like germanium – an important mineral. The red chewy berry also provides protein, fiber, antioxidants and lots of beta carotene.”

So, does all of this sound good to you? Well, how about winning your own 8oz bag of these little power gems? Navitas Naturals has agreed to give away one bag to a lucky reader of Going Dad!

Click the Rafflecopter link below to enter and good luck! A winner will be chosen at the end of the day next Friday, March 21st, and announced soon after.

I could be yours!
I could be yours!

a Rafflecopter giveaway

Going Healthy: Navitas Naturals Easy Banana Chia Pudding

Self control and dessert are typically words you don’t see used together. Unless, “no” is in front of self control, then maybe. I am able to resist the tastiest looking treats since I know most of them are loaded with sugar, fat, and most likely numerous chemicals to get the best “taste.” Simply put, I like knowing exactly what’s in my food and do best when I make it myself.

DSC_0450

Navitas Naturals kindly agreed to send me their Chia Seeds and Cacao Goji Superfood Power Snacks to review, and I’m enjoying them both! I’ll be posting a review along with a giveaway the nice people at Navitas Naturals agreed to, so please be on the lookout for my review!

As a new dad and stay-at-home parent, I don’t always have time to cook something when Avery is demanding my attention. I’m not one to settle for convenience food, so most of the time, I resort to the microwave to steam veggies and cook egg whites. Add some cayenne, black pepper, and mustard, and this is my meal most days. Luckily, I tend to enjoy all vegetables in their plain state, but it would be nice to have something packed with flavor too.

Thankfully, I was able to come up with a quick and healthy chia treat that’s perfectly fine to have “no” self control!

All you need to make this easy dessert that could double as a healthy, energy-packed breakfast is a ripe banana, milk of choice, Navitas Naturals Chia Seeds, vanilla protein powder, and vanilla extract.

DSC_0441
We want peanut butter!

Protein Banana Chia Pudding

Ingredients:

  • 2 ripe bananas (I like them very spotty!)
  • ½ cup milk of choice (I used unsweetened almond milk)
  • 1 scoop vanilla protein powder (I use a stevia sweetened whey protein)
  • 2 tablespoons Navitas Naturals Chia Seeds
  • Splash of pure vanilla extract (You can use vanilla vodka if you don’t have extract….or just like alcohol)
  • Optional: preferred sweetener like honey or agave to taste

Directions:

  1. Using a food processor or blender (I used my Vitamix), add all ingredients except the chia seeds and blend until smooth. Add your optional sweetener too if desired.
  2. Toss in the chia seeds and pulse just enough to thoroughly mix them in.
  3. Pour into an airtight container and let chill in the fridge for at least an hour.

 DSC_0449

If you must, go ahead a take an early sample, I did, and it was great. Just know that the chia seeds need time to gel, so they will still be crunchy. This is a fun recipe to make with kids to amaze them at how the tiny chia seeds make liquid turn into gel.

When it’s warmer, make a quick, refreshing drink by adding a spoonful of chia to water with a splash of apple or orange juice and wait 5 to 10 minutes to have a fun, gooey drink! Hey, and it’s packed with omega-3’s, fiber, protein, vitamins, minerals, and so much more!

I told Avery about all of the benefits and she even wanted to try some for herself.

DSC_0445

Sadly, I had to tell her she must wait a little longer. Poor baby.

DSC_0444

Have you ever used chia seeds?

If so, what’s your favorite way to use them?

Going Healthy: Homemade Peanut Butter Dippin’ Dots

peanut butter dippin' dots, healthy, recipe, ice cream

Going to the mall as a kid is a lot more exciting than it is as an adult. At least for me it is. As a kid, you are overwhelmed with fun toys being demonstrated right in the middle of everything, and the food stands have such interesting food to lure offer you.

Poor parents, most are doomed the moment you step foot into a mall with your child unless they have horse blinders on or are really good at saying no. Sorry, mom..

One treat I remember begging to get every time we’d go to the mall were Dippin’ Dots. Those little pellets of frozen, tasty ice cream would melt in your mouth to a creamy consistency worlds beyond regular ice cream. And the flavors, oh man the flavors, how could you choose just one? But the price for these little gems was ridiculous, and therefore, I was only able to choose one……okay, two. Thanks, mom!!

As a child into my young adult years, I was a pretty hefty boy, and things like Dippin’ Dots didn’t help. Now that I’m such a food snob and scrutinize every product with an ingredient label, I’d never touch these things again. Sorry, Avery, no fun mall treats like these, if anything. If you care, here’s the nutritional information and ingredient list for Dippin’ Dots.

https://secure.dippindots.com/extranet/downloads/Nutritional_Info_Gatefold_Brochure.pdf

Despite the cold weather we’ve been having, I have been thinking of these lately and really started to crave some. If you don’t mind the dots being larger, give this simple recipe a try. You’ll appreciate the short ingredient list and guilt-free pleasure to enjoy a large portion.

The peanut flour I use in this recipe is Anthony’s Organic Peanut Flour that you can buy on Amazon. It’s a great price and can be used in so many recipes or just mixed in water for a low fat peanut butter treat.

This would be a fun, safe, and delicious recipe to make with your little ones, and I can’t wait to get Avery in the kitchen to help daddy make these delicious and healthy dots! I only have, ohhhhh, a few more years….*sigh* Oh well, until then I’ll make sure she watches as much as possible.

Peanut Butter Dippin’ Dots

Ingredients

  • 3/4 cup Greek or regular plain, non-fat yogurt (or 2 6oz containers)
  • 1/2 teaspoon vanilla extract
  • 1/4 cup peanut flour or 2 tablespoons natural, creamy PB (I use NuttZo); just briefly heat to make it easy to stir

Directions

In a bowl, mix together the yogurt, vanilla, and peanut flour or peanut butter until well combined. I actually had a large 32oz yogurt container with the right amount left, so I used this to mix everything.
DSC_0250
Put the yogurt into a plastic sealable bag, and zip shut.
DSC_0253

Cut a small corner off the bag and use it like a piping bag to squeeze out small dots over a cookie sheet. I used a silicone baking mat for ease of transfer once frozen.

peanut butter dippin' dots, healthy, recipe, ice cream
Place in your freezer for a couple hours and wait, impatiently, if you’re like me.
DSC_0261
Fold the mat to create a “V” shape and dump (if you didn’t use a mat, use a non-metallic spatula to scrape) into a container with a lid to freeze until ready to eat. Or just eat them right away! Warning: these melt somewhat quickly, so freezing your storage device before hand will help the dots keep their shape.
DSC_0279
If you aren’t fond of peanut butter (you’re crazy), some other ingredients you could use are:
  • Honey or Agave to taste; start with about 2 tablespoons
  • Liquid or powder stevia; I love using Sweet Leaf’s Liquid Vanilla Stevia for this
  • Chocolate or Vanilla (or another favorite flavor) protein powder; measure the same as the peanut flour and you’ll have a very high protein treat
  • If you have a blender, try pureeing fruit to mix in; I’m thinking banana pureed and mixed into the  peanut butter recipe would be happiness in dot form!
  • Pumpkin puree with pumpkin spices; yum!

The Texas weather may not make it seem like it, but Spring is coming up fast and this will be a perfect treat to start making and enjoying soon. Too bad Avery is stuck with milk for now. I guess I’ll have to make this for Kelley in hopes to pass it through to Avery in milk form.  Who knows, it must do something!

I hope you are able to enjoy this easy to make, but hard to wait for recipe. Please let me know if you have any questions or comments!

Do you have any favorite recipes to make with kids? Please share if you do, I want to start thinking of things now for when the time does come!