Can you think of something that has an up and a down side?
Recently, Avery hit a growth spurt and was going through bottles just like her diapers! This is the up side as I was worried she wasn’t eating enough to facilitate growth. But the down side was how quickly the dirty bottles collected in the sink.

Luckily, Medela sent us their Quick Clean™ products for review at the same time.
Each day, I have to clean all of the bottles and the breast pump parts Going Mom uses at work. This can be difficult at the end of the day when Avery is demanding attention while I’m preparing dinner, picking up around the house, and Going Mom is just trying to change out of work clothes.
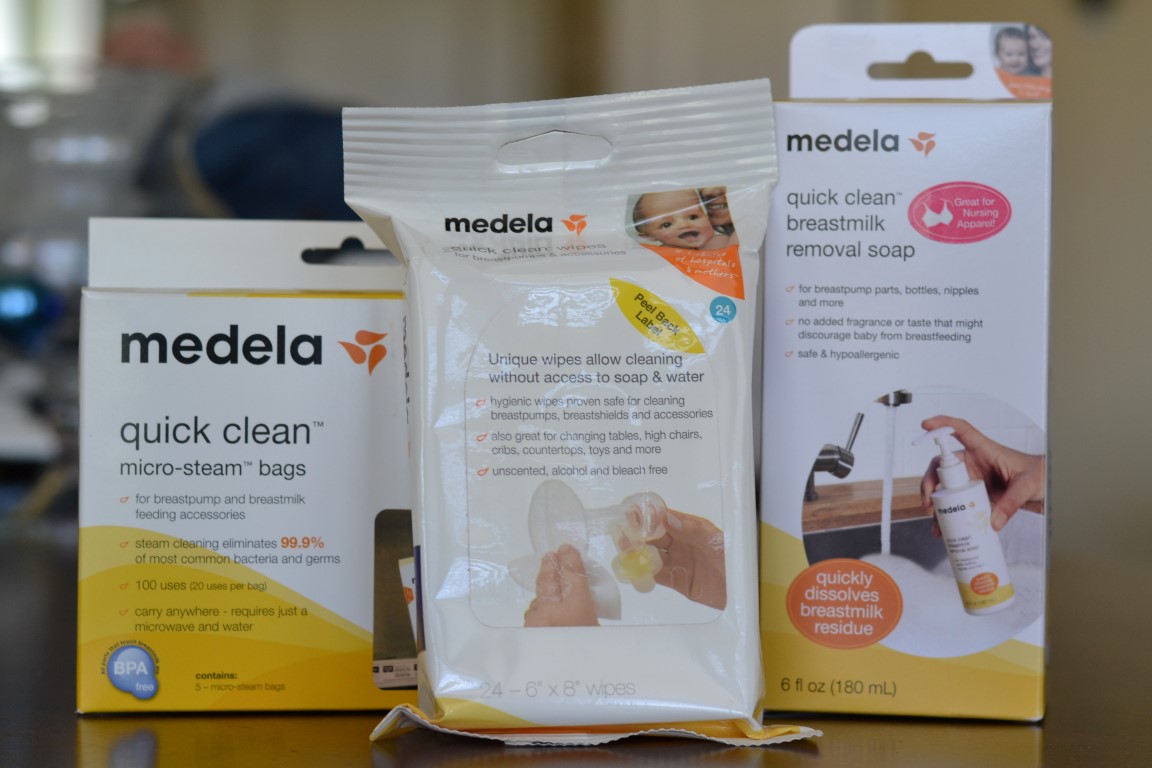
Medela’s Quick Clean™ product line includes:
- Quick Clean™ Breastmilk Removal Soap – Great for home use
- Quick Clean™ Breastpump & Accessory Wipes – Perfect when on the go
- Quick Clean™ Micro-Steam Bags – Great to use at work, when travelling, and at home
Since I’m not the one pumping breastmilk at work, Going Mom made use of the wipes and micro-steam bags while I used the breastmilk removal soap to tackle the mounting bottles at home. With feedback from my wife, I’ll go over each item providing our pros and cons.
Quick Clean™ Breastmilk Removal Soap

Medela’s description:
Quick Clean breastmilk removal soap removes stubborn breastmilk residue up to 3 days old and is clinically tested under physician supervision not to cause skin irritation. No-scrub soap is safe and hypoallergenic with no added fragrance or taste that might discourage baby from breastfeeding.
I had trouble accepting the “no-scrub” part of this soap, but appreciate that it is fragrance free and didn’t irritate my skin. I followed the directions on the bottle and used 3 pumps of soap for every gallon of lukewarm water. I let Kelley’s breast pump parts and all of the components of the bottles soak for 5 minutes and rinsed with water.
Not using the bottle brush saved a lot of time and it felt too good to be true. Unfortunately, it was too good to be true; at least the no-scrub part. After letting everything air dry, the bottles had a haziness that we haven’t seen before and just didn’t seem thoroughly clean.
But don’t wave this off as ineffective, I tried it again along with using the scrubber and everything came out clean; no haze! So maybe the soap cleans without scrubbing, but I don’t like seeing a haze and scrubbing will fix that.
Pros:
- Can be used for all breast pump parts, bottles, nipples, and even dishes
- Safe and hypoallergenic
- No fragrance to irritate skin or alter taste for baby
Cons:
- “No-scrub” didn’t work (for me)
Quick Clean™ Breastpump & Accessory Wipes

Medela’s description:
Convenient portable cleaning, no need for soap and water cleaning after each pump session. Hygienic wipes proven safe for cleaning of breastpumps and accessories as well as high chairs, tables, cribs and countertops.
Kelley used these at work after pumping and liked them for the most part, but they left a soapy residue that needed to be rinsed. Also, it is difficult to get into the small areas of some of the parts with the wipes alone. She still prefers to just have me clean everything with the Quick Clean™ Soap when she gets home and that’s fine with me; she’s busy enough as it is!
Since the wipes are good for more than just pump parts, we are having better luck using them at home. Now that we’re starting baby-led weaning with Avery, I have a feeling they will be quite handy for the highchair!
Pros:
- Able to use anywhere when on the go
- Good for cleaning more than just breast pump accessories like high chairs, countertops, toys, and more
- Hygienic
Cons:
- Leaves a soapy film that sometimes needs rinsing
- Can’t get into the hard to reach places on small parts
Quick Clean™ Micro-Steam™ Bags
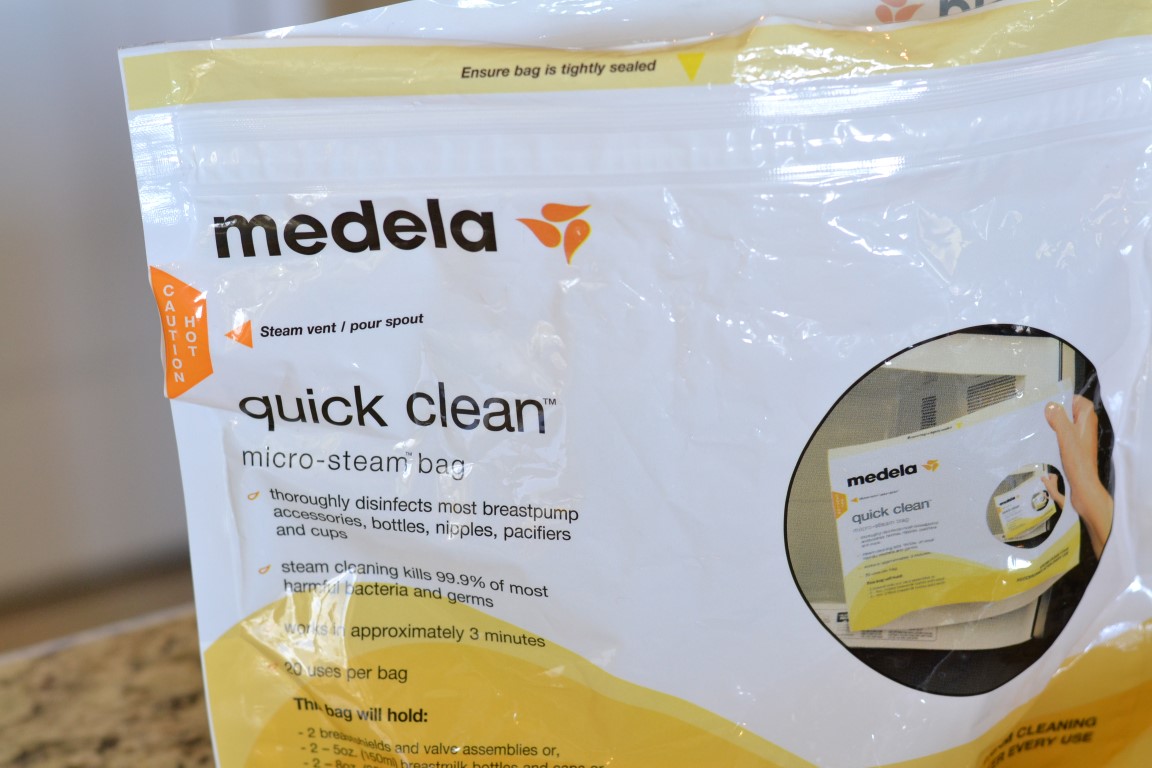
Medela’s description:
Disinfect your breastpump breastshields, accessories, breastmilk bottles, nipples, pacifiers and more in about 3 minutes.
Of the three products, these are hands down our favorite! Going Mom uses the bags at work and home to clean and sanitize all breast pump accessories and bottle nipples. We love how quick and efficient the bags are and they are easily transportable.
Pros:
- Kills 99.9% of germs and bacteria when used
- Simple to use
- Great for storing pump parts and keeps you from losing the small pieces
- Each bag can be used up to 20 times and even includes checkboxes to make sure you keep an accurate count
- Very sturdy and will not easily rip or get punctured
Cons:
- None
Overall, we have been happy with Medela’s Quick Clean™ products but love the steam bags the most. The soap is working fine now that I scrub and I honestly feel better about scrubbing dirty accessories anyway. Although the wipes aren’t the best solution for Going Mom when at work, I’m finding they are helpful for quick cleaning around the house.
Have you tried any of Medela’s Quick Clean™ products? If not, do you want to?
Any favorite cleaning solutions that you use?
Thank you, Medela, for allowing me the opportunity to use and review your line of Quick Clean™ products!
Disclosure: Medela provided everything mentioned in this post free of charge but did not compensate me for this post in any way. All thoughts and opinions are strictly my (and my wife’s) own.